
A Room-by-Room Guide to Electrical Remodels
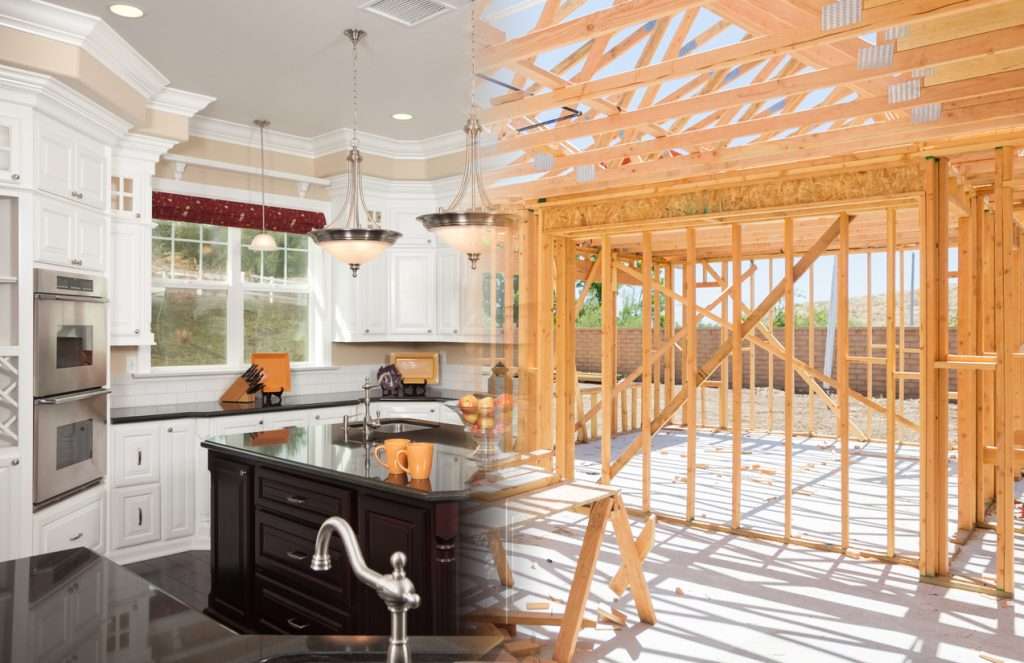
When you’re renovating your home, it’s fun to focus on finishes, fixtures, and floor plans. However, the electrical system is the framework that makes your home safe, functional, and comfortable.
A remodel creates the rare chance to rethink how power, lighting, switches, and circuits support each room. Below is a room-by-room look at the electrical updates homeowners most often consider, why they matter, and what typically happens during the process.
Kitchen Remodel
Kitchens run smoothly when power, lighting, and appliances are planned together, so this part of the remodel tends to involve the most coordination. Common electrical work includes:
Dedicated appliance circuits
Major appliances like refrigerators, microwaves, dishwashers, disposals, and beverage fridges each need their own circuits to run safely and reliably.
240V wiring for ranges or cooktops
Electric ranges, and especially induction, require dedicated 240V circuits. If you’re switching from gas, this wiring has to be added during the remodel.
Small appliance branch circuits (SABC)
Code requires at least two 20-amp countertop appliance circuits to support everyday tools like coffee makers and toasters.
Under-cabinet and task lighting
A small upgrade that dramatically improves prep areas, cooking zones, and evening lighting.
Updated outlet layouts
As cabinetry shifts, outlets need to be reorganized along the backsplash, around peninsulas, and on kitchen islands.
Lighting upgrades
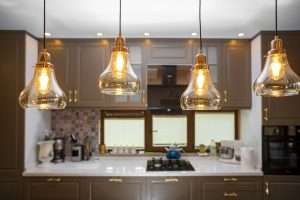
Pendants, recessed lights, and dimmers create layered lighting that adapts to cooking, entertaining, and everyday use.
GFCI and AFCI protection
Required by code and important for safety anywhere water, heat, and high-powered appliances meet.
Hood vent or microwave/hood wiring
Vent hoods often need their own circuit or additional wiring, especially in full kitchen redesigns.
Future-ready wiring and smart controls
Many homeowners add wiring for smart switches, LED drivers, or potential future appliances while the walls are open.
Bathrooms
Bathroom remodels often involve more electrical decisions than homeowners expect. Because moisture, lighting, and daily routines all meet in one compact space, getting the electrical plan right makes a noticeable difference in both safety and comfort. Common updates include:
GFCI and AFCI protection
Modern code requires enhanced protection anywhere water and electricity meet.
Dedicated 20-amp bathroom circuit
Outlets in bathrooms need their own circuit to support hair dryers, grooming tools, and everyday use.
Exhaust fan wiring
Many newer fans are quieter, more efficient, and may need new wiring, humidity sensors, or a dedicated switch.
Lighting around mirrors and vanities
Placement matters. Good task lighting makes daily routines easier and prevents unwanted shadows.
Shower or tub lighting
Wet-rated or damp-rated fixtures are popular additions that brighten the whole space.
Heated floors
A comfort upgrade that requires its own dedicated circuit.
Bidet power
More homeowners are adding these, and most models need an outlet nearby.
Optional upgrades for convenience
Drawer outlets for hair tools, backlit mirrors, towel warmer circuits, toe-kick lighting, or USB/USB-C outlets for grooming devices.
Living Rooms & Common Areas
Living rooms and shared spaces don’t always require major electrical changes. However, since they are often heavily used a few well-planned updates can make them feel more functional and inviting.. During a remodel, homeowners often focus on:
General lighting improvements
Older homes especially benefit from added recessed lights, sconces, or updated fixtures.
Switching layouts
Adjusting switches to match new traffic patterns or furniture arrangements.
Smart dimmers or multi-level lighting
Helpful for creating different moods and uses within the same space.
Additional outlets
Useful for media setups, floor lamps, or flexible furniture layouts.
Future-ready wiring
Running wiring for potential sconces, ceiling fans, or media components.
Bedrooms
Bedrooms aren’t electrically complex, but thoughtful planning during a remodel makes them far more comfortable, functional, and easy to live in every day. Common upgrades include:
Better outlet placement
Moving or adding outlets to match nightstands, charging habits, or new furniture layouts.
Upgraded overhead lighting
Replacing old fixtures or adding recessed lighting for better overall illumination.
Switch control near the bed
A small convenience that makes a big difference when turning lights off at night.
Closet lighting and power
Walk-ins often benefit from dedicated lighting or outlets for organizational systems.
Dedicated circuits in primary suites
Heated floors or warming systems need their own circuit.
Ceiling fan or future fan wiring
Pre-wiring during a remodel keeps ceilings clean and avoids later patchwork.
Smart switches or dimmers
Helpful for setting light levels, nighttime routines, or controlling lights from the bed.
USB/USB-C outlets
A simple upgrade that modernizes charging in the space.
Basements, Additions & ADUs
Finishing a basement or building an ADU is essentially designing a full electrical system within an existing structure. These projects often require a more comprehensive plan, including:
-
Full electrical layouts
Placement of outlets, lighting, switches, and dedicated circuits based on the intended use of the space. -
Subpanels (when needed)
Additional capacity is often required for basement kitchens, laundry areas, workshops, or independent ADUs. -
Load calculations
Ensuring the home’s electrical system can safely support new square footage and additional appliances. -
Dedicated circuits for kitchens, laundry, or HVAC equipment
Especially important in standalone ADUs or basement suites. -
Exterior lighting and outdoor power
Entrances, stairwells, patios, and landscaped areas often need new wiring. -
Future-ready wiring
Conduits or extra circuits for EV chargers, hot tubs, or later expansions.
Whole-Home Upgrades to Consider
When walls are open and layout changes are happening, many homeowners take the opportunity to tackle bigger electrical improvements that are difficult (or more expensive) to address later. Common whole-home considerations include:
Panel or service upgrades
Especially important for homes adding high-demand appliances, EV chargers, or multiple remodel projects.
New circuits or partial rewiring
Older wiring systems often get updated during larger remodels to meet current safety standards.
Smart lighting controls
Adding dimmers, smart switches, or integrated lighting systems to improve comfort and efficiency.
Whole-home lighting design
A coordinated approach to lighting across rooms creates consistency and better functionality.
EV charger circuits
Easy to rough-in during a remodel—even if the charger itself comes later.
Smoke and CO detector updates
Hardwired and interconnected systems are far easier to install during construction.
How Electrical Work Fits into the Remodel Timeline
Electrical work happens in phases, and each phase lines up with specific moments in the construction schedule. Clear communication between the electrician, GC, and homeowner at each step keeps the project moving smoothly and helps prevent surprises later in the remodel. A typical remodel looks something like this:
- Walkthrough and planning
The electrician meets on-site with you and your contractor to review the layout, talk through lighting placement, appliance locations, switching preferences, and any upgrades (circuits, panels, or smart controls). This is where everyone confirms what’s moving, what’s staying, and what the space needs to function well. - Detailed proposal
After the walkthrough, you receive a written scope that lists circuits, fixtures, wiring changes, and any required upgrades. This document becomes the shared plan for the GC, electrician, and homeowner. - Rough-in electrical
Once framing is open—but before insulation and drywall—the electrician runs wiring, installs boxes, sets up circuits, and prepares for all future fixtures. This stage is coordinated closely with the GC’s schedule because plumbing, HVAC, and framing all need to be in the right place before electrical can start. - Finish electrical
After the walls are closed and surfaces are in place, the electrician returns to install light fixtures, switches, outlets, fans, and any specialty equipment. This phase is where the final look and functionality come together. - Testing, adjustments, and final walkthrough
Circuits are tested, fixtures are checked, and everything is verified to meet code. The electrician reviews the finished work with you, makes any final adjustments, and ensures you understand how the switching and new systems operate.
Whether you’re updating one room or your entire home, we’re here to help you choose safe, reliable electrical solutions that support your remodel. Contact us today to schedule an assessment.
Sign up for Empowering Electrical News
We won't share your information
Recent Posts



Get in Touch
"*" indicates required fields